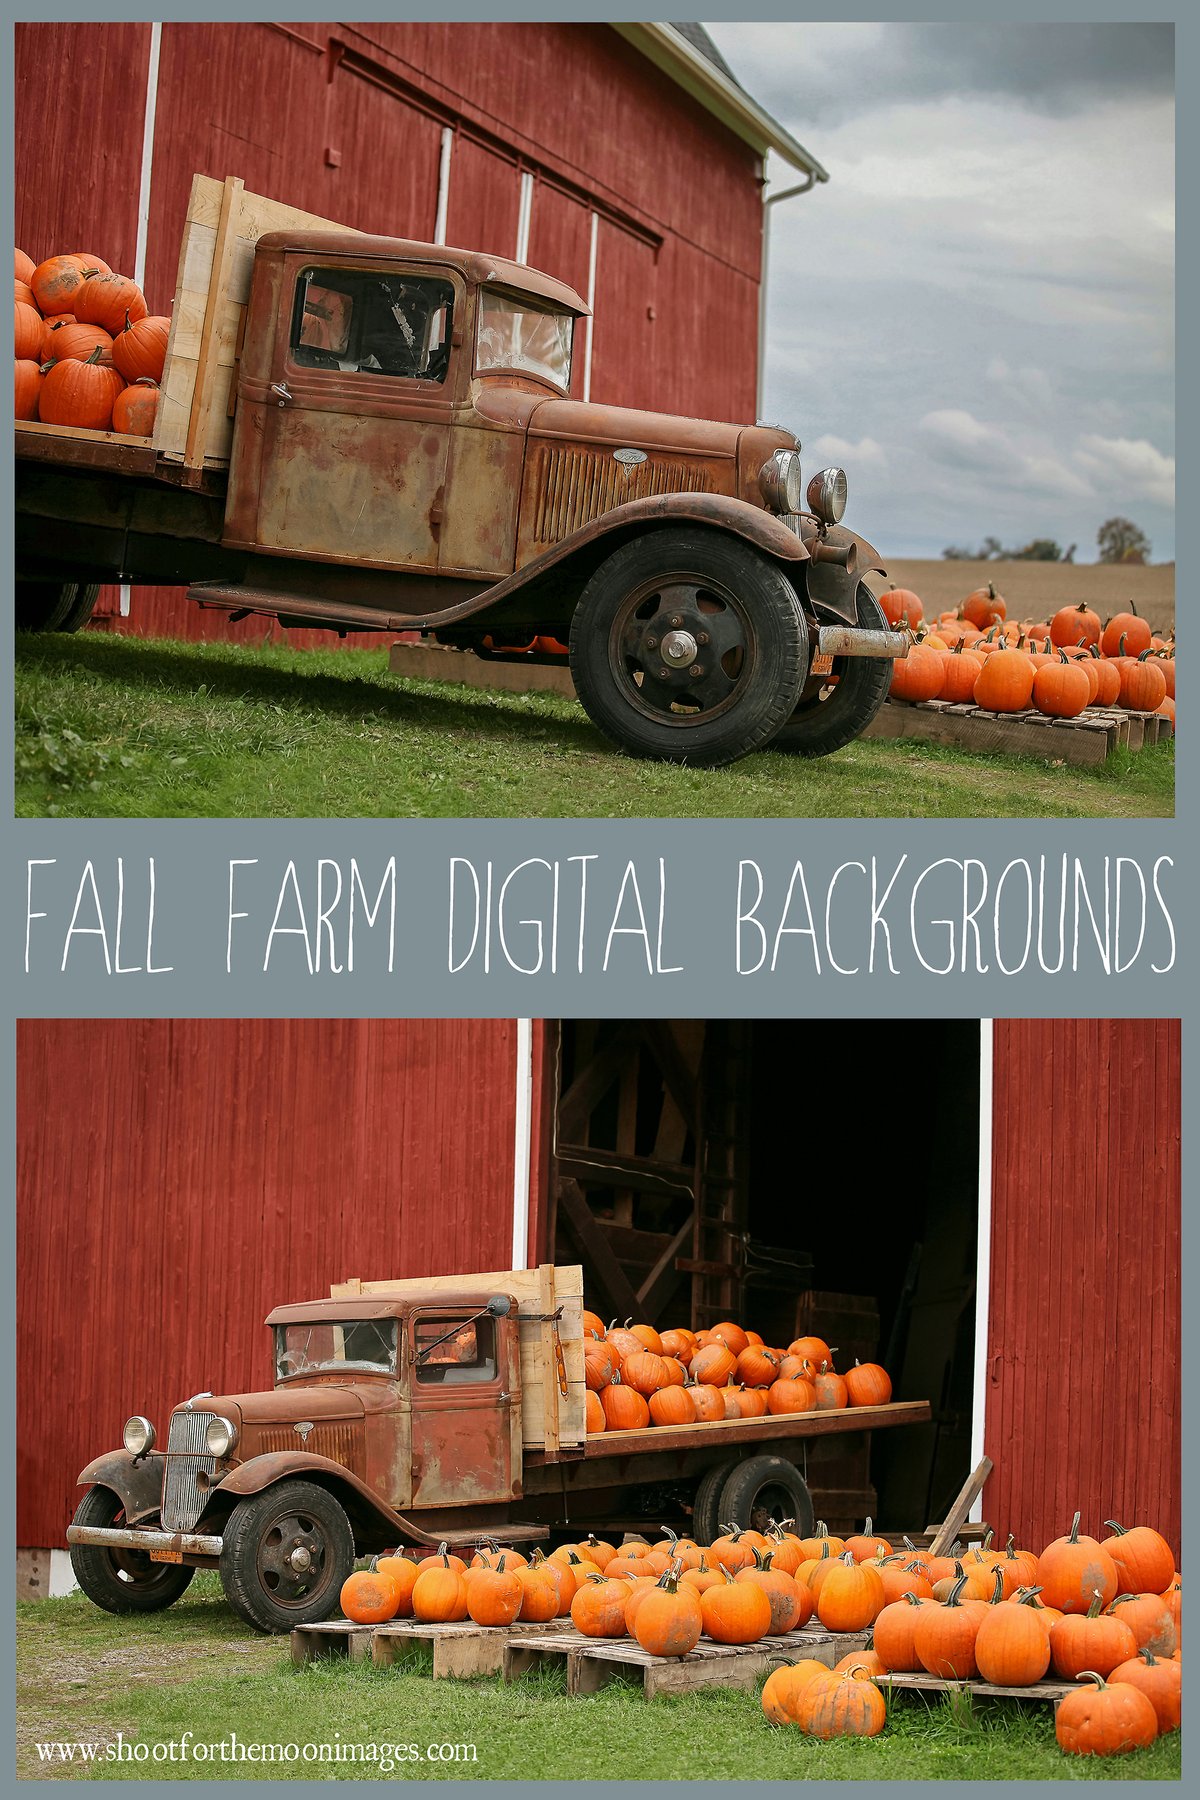
Fall Farm Digital Backgrounds
$5.50
One instant download (of a Zip Drive folder) of two
high-resolution images total (2 different Fall Farm Digital Backgrounds), each in a .jpg file format.
Created in Adobe Photoshop.
Fall Farm images by: Carrie Ann Grippo-Pike with © Shoot for the Moon Images
How to use a Digital Background:
A Digital Background is simply a digital image (.jpg) that can be used to enhance a portrait or create a certain scene or work of fine art that you are envisioning. It is a medium for you to insert elements you have taken in your own photos such as people, animals or objects. Most often a Digital Background is a photo of a scenic landscape, historic landmark or fantasy fairytale world.
One of the benefits of digital editing of images in Photoshop, is the ability to use these Digital Backgrounds/Scenery – putting a subject into/onto a scene completely different from the one you used when you took your image.
Instructions for use:
1. Load the images you want to work with on to your computer. You will need the Digital Background/Scenery that you want to use as well as a photo containing people, animals or objects that you would like to composite onto the Digital Background.
2. Open Photoshop. Select “File” from the menu and choose “Open.” In the dialog that now appears, locate the Digital Background image that you loaded in step one and open it.
3. Select “File” from the menu again and choose “Open” once more. The dialogue appears and this time locate the photograph(s) containing the elements that you want to add to the Digital Background image. For the purpose of this instruction list, an “element” is an object, person or animal in the photograph that you want to extract for use on the Digital Background.
4. To apply your elements to the Digital Background, drag, place, cut out or select all/copy/paste the elements (as a new layer) on top of the Digital Background you want to have them on.
5. In the Layers Palette, you can then change the pasted elements opacity amount, fill amount and blending mode to taste. The blending mode is the pull-down menu at the top of your Layers Palette (by default, it will read “Normal”). You may wish to blend in “Screen” mode prior to performing a free transform, simply to be able to see what you’re doing while you work.
6. To use Photoshop’s free transform tool, press CTRL + T (COMMAND + T for Mac users), then pull the small boxes found in each corner of your pasted elements with your mouse until your elements are where you want them to be within the Digital Background. You can also utilize free transform to move the elements around on your image, enlarge them, or shrink them. Hold down the “Shift” key when doing this to keep the elements to scale if you want them that way.
7. Position the elements on the Digital Background where you want them to go, including flipping them or rotating them. Add a Layer Mask, then using a soft black brush, paint away the elements to reveal objects underneath.
8. Once finished adding your elements to the Digital Background/Scenery, flatten your image. THEN you can treat/edit your photo with actions/presets or by hand so everything blends together as one overall, seamless piece and to give the image a finished look.
** This product is a digital image that is available for downloading immediately after purchase. Due to the nature of digital products, no returns, refunds, exchanges or credit will be given.
Thank you and enjoy!!
xo
Carrie Ann