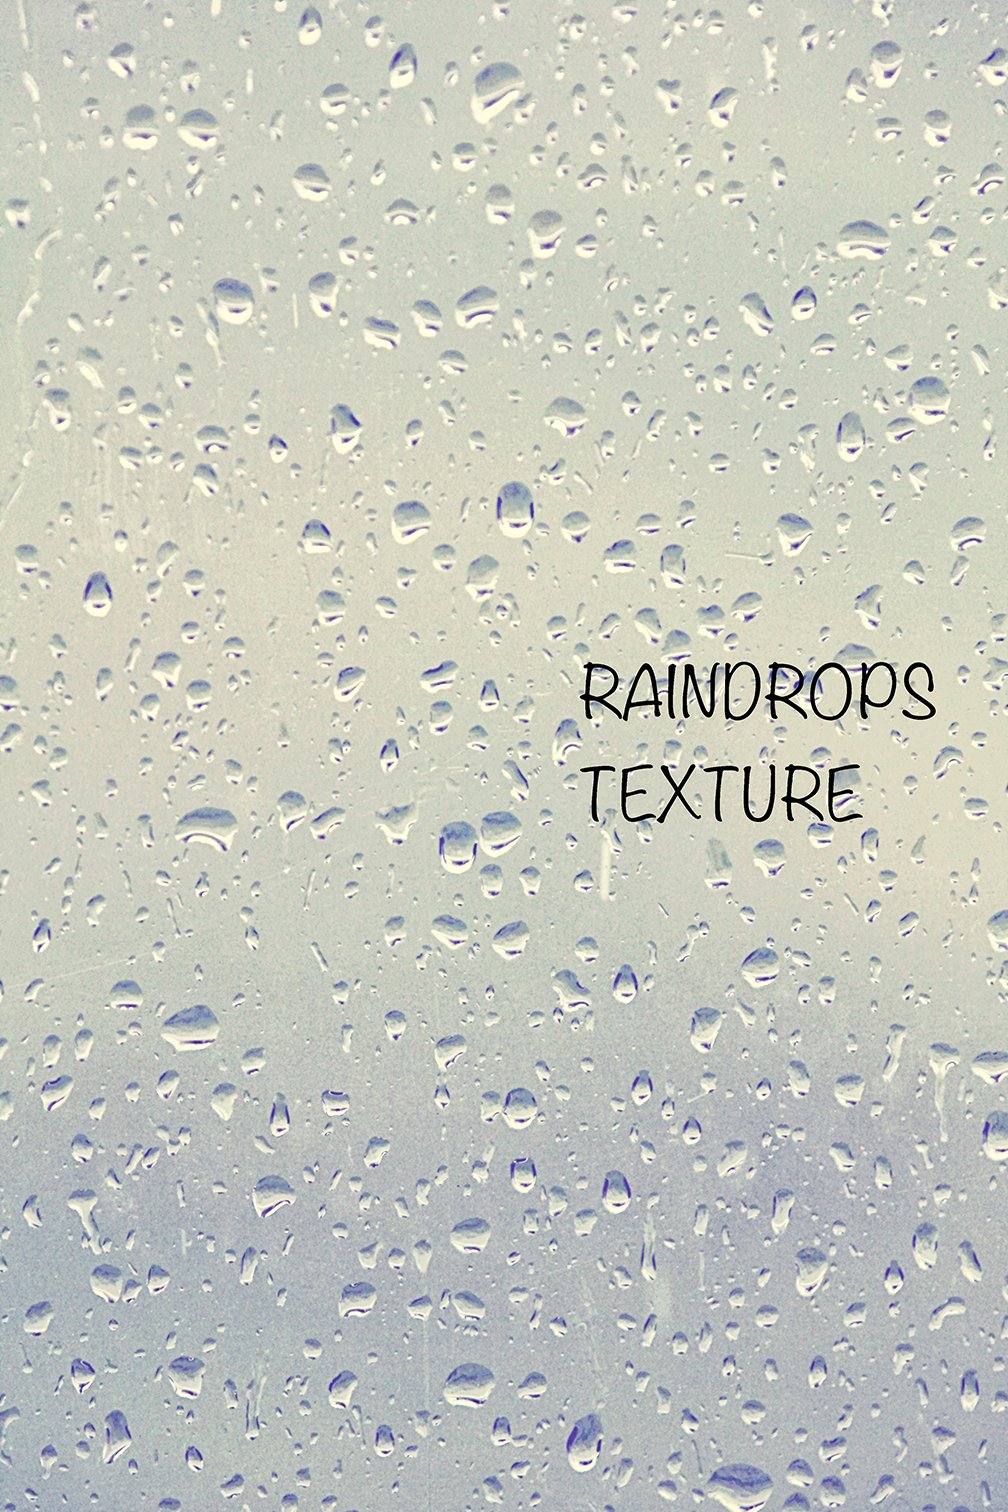
Raindrops Texture
$2.50
One high-resolution instant download of this Raindrops Texture in a .jpg file format for personal or professional photographic and business use only.
Created in Adobe Photoshop.
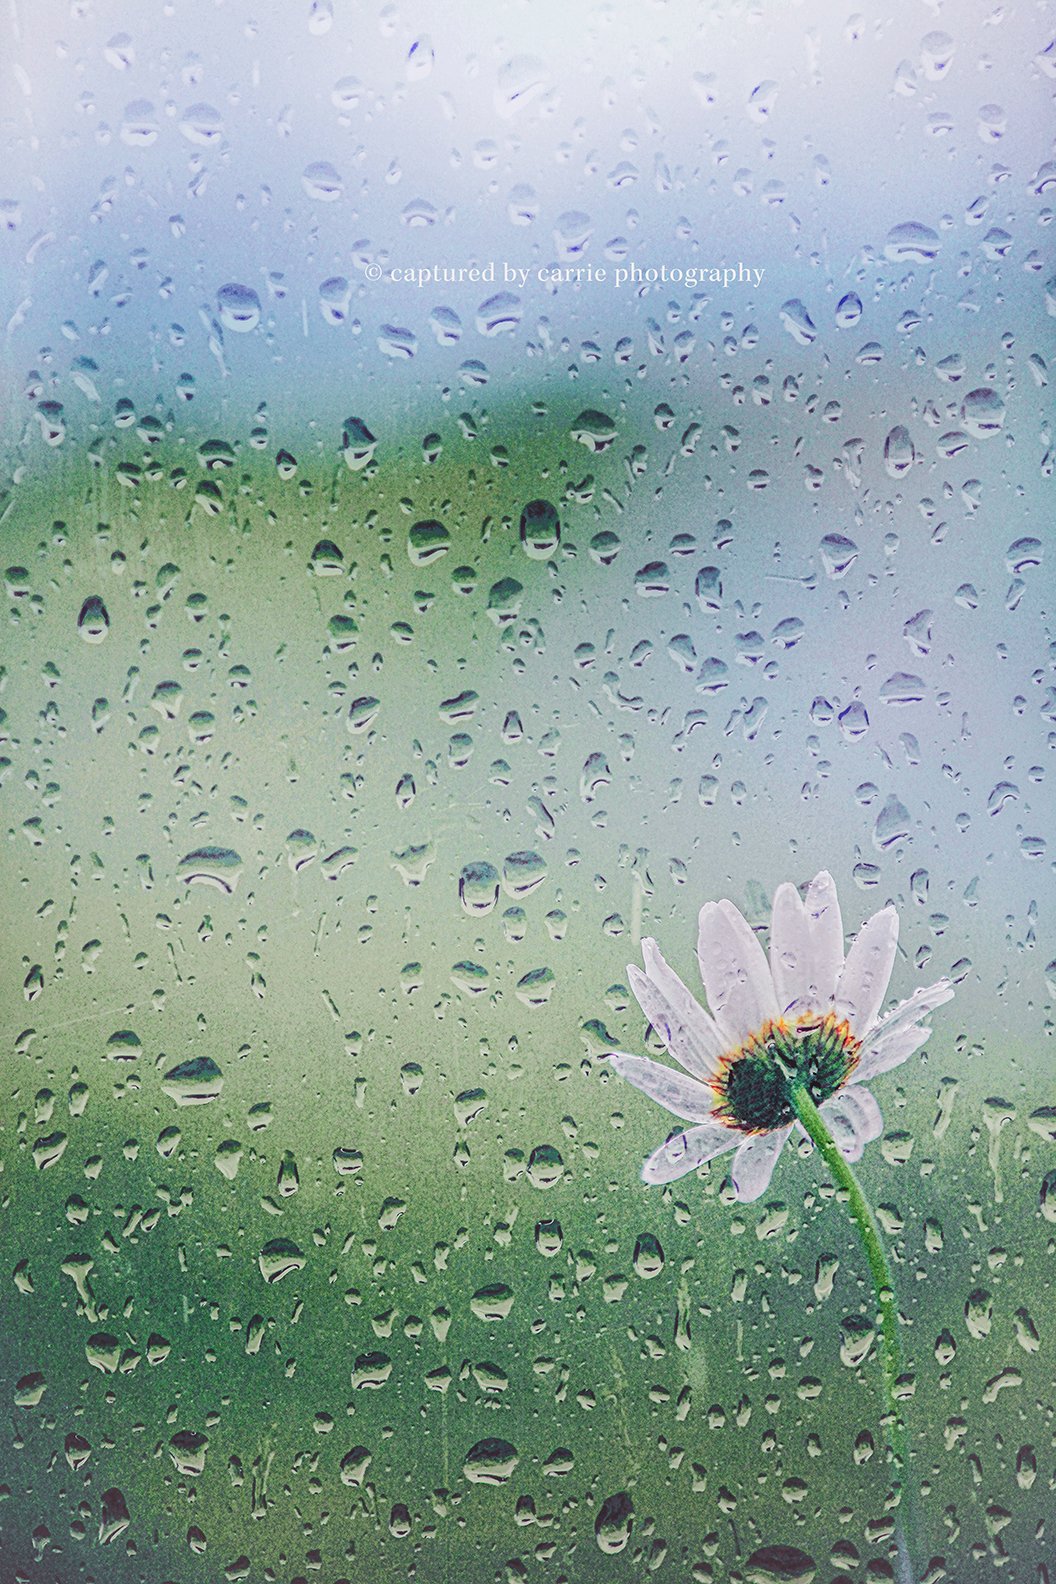
Raindrops photo by: Carrie Ann Grippo-Pike with © Captured By Carrie Photography & Product Shop
For this Raindrops Texture: try using different layers blending modes. I personally like using the "Hard Light" blending mode at about 60% with this texture. Once I flatten the overall image, I then use "Curves Auto" to bring back the shadows and depth of the photo as the texture makes it very "monotone"!
How to use a Texture in general:
Textures are .jpg or .png images that you apply as a layer on top of your image… you change the Texture’s opacity and blending mode to achieve the desired result. Textures can do so much for an image: they can make an image look vintage, dreamy, shabby, retro, spooky, grunge, etc. They can add warmth, coolness and depth, or be used to hide or enhance parts of your image. Textures can be used with any software that allows you to work with LAYERS (Photoshop, Photoshop Elements, Paintshop Pro, etc.).
To apply, drag, place, cut out or select all/copy/paste the Texture as a new layer on top of the photo you want to have the Texture on.
In the Layers Palette, you can then change/adjust the Texture layer’s opacity amount, fill amount, percentage and blending mode to taste. The blending mode is the pull-down menu at the top of your Layers Palette (by default, it will read “Normal”). I recommend using most Textures in “Soft Light”, “Overlay” or “Screen" mode (but try ALL the modes out - there might be a great mode that suits the “look” you are after!) You may wish to blend in “Screen” mode prior to performing a free transform, simply to be able to see what you’re doing while you work.
To use Photoshop’s free transform tool, press CTRL + T (COMMAND + T for Mac users), then pull the small boxes found in each corner of your Texture with your mouse until your Texture completely covers your image. You can also utilize free transform to move the Texture around on your image, enlarge it, or shrink it. Hold down the “Shift” key when doing this to keep the Texture to scale if you want it that way.
Position the Texture on the image where you want it to go, including flipping it or rotating it. Add a Layer Mask, then using a soft black brush, paint away the Texture to reveal objects underneath as well as to brush off the parts of the texture in the areas you do not want it to be on such as a face or on the skin or in the sky for example (or do so more gradually with the soft black brush set at say “Opacity” of 66% and a “Flow” of 66% to make it appear more “natural” then just a sudden texture-free surface). Once the Texture is applied, select JUST the Texture layer in the palette and using Curves, you can lighten, darken and adjust contrast to really make the texture “pop”! You can also adjust the color of the Texture… if a grey Texture, you can make it any hue/color tone you wish (you can even adjust colored textures… they just come out more saturated since they already have a hue to them). Then select only the “Background” layer (original image) and you can use Curves to control the look of THAT from underneath the layer! Textures can also be used to drag, place or copy/paste images on TOP of.
Once finished adding your Texture, flatten your image. THEN you can treat/edit your photo with actions/presets or by hand so everything blends together as one overall, seamless piece and to give the image a finished look.
** This product is a digital image that is available for downloading immediately after purchase. Due to the nature of digital products, no returns, refunds or credit will be given.
** applicable sales tax may be applied upon actual purchase
Thank you and enjoy!!
xo
Carrie Ann
*** Feel free to post your images (using the products you purchased) to my Facebook fan page wall at Captured By Carrie Photography & Product Shop (http://www.facebook.com/CapturedByCarriePhotography) for a chance to be featured! I would love to see what you do with my Overlays, Textures, Digital Backgrounds/Scenery and Lightroom Presets! :-) ***